


2025-08-13
Corners are the places where mistakes most easily happen, and they are also key to showing whether the installation is professional.
For every corner, you should leave about 2 cm extra length. This makes sure the mat can wrap tightly to the wall instead of leaving gaps after stretching.
At the same time, during installation, the foam inside the mat should be cut at a 45-degree angle. This helps the mat turn to the next wall more smoothly and brings clear improvements:
If you don’t leave extra material and skip the cut, the corner is usually the first place where problems appear.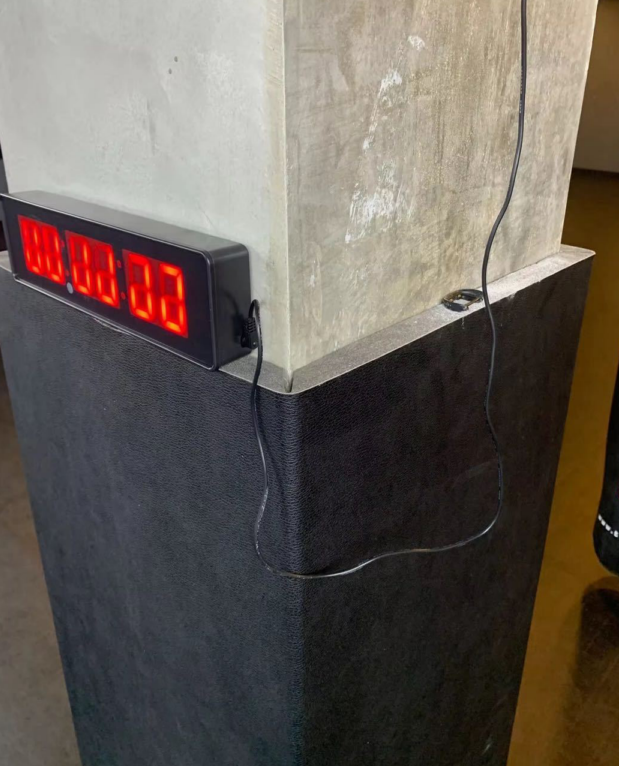
Whether Velcro is needed depends on the real installation situation.
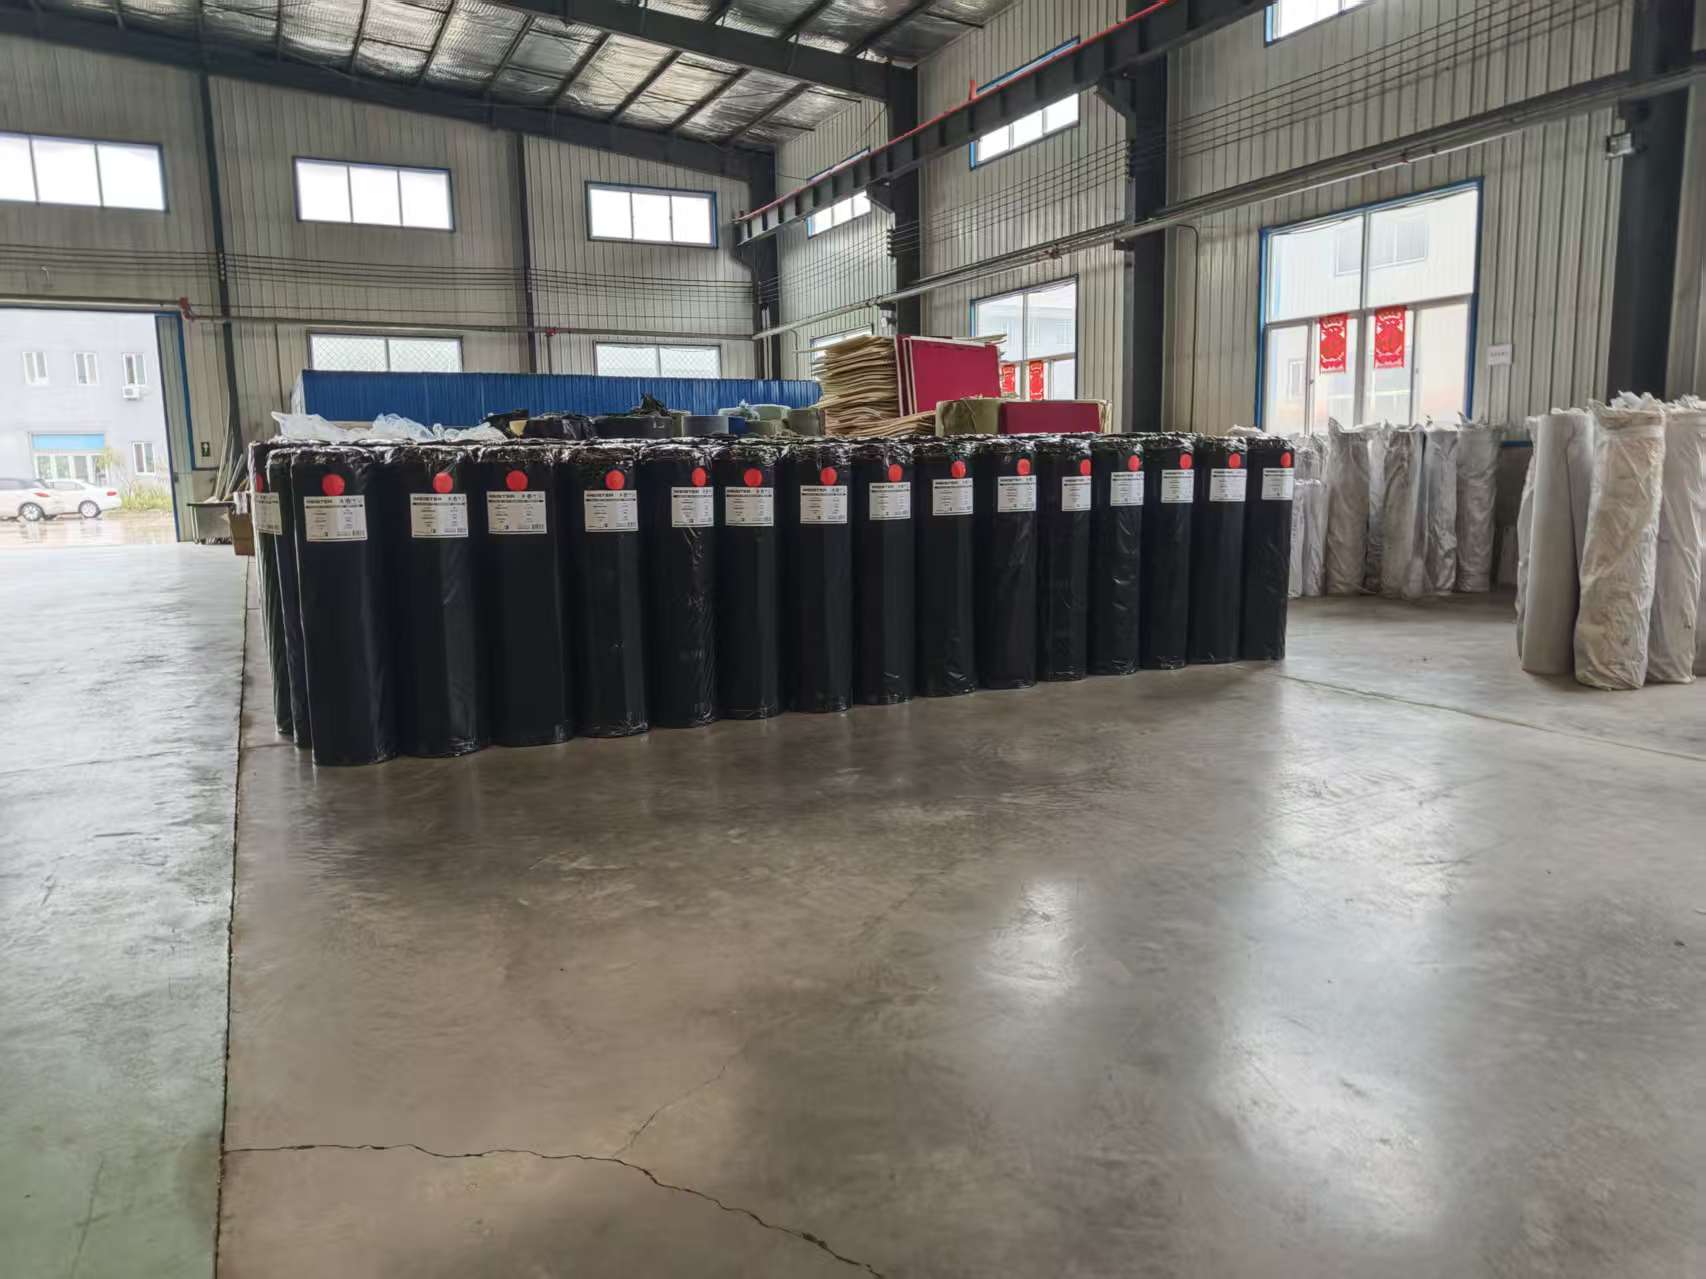
Unlike wall padding, which is installed piece by piece, roll out mats can run continuously without breaks. In this case, Velcro is usually not necessary.
But if you need to wrap around columns or similar structures, Velcro becomes essential. It helps the mat close perfectly around a square pillar and reduces the need for glue.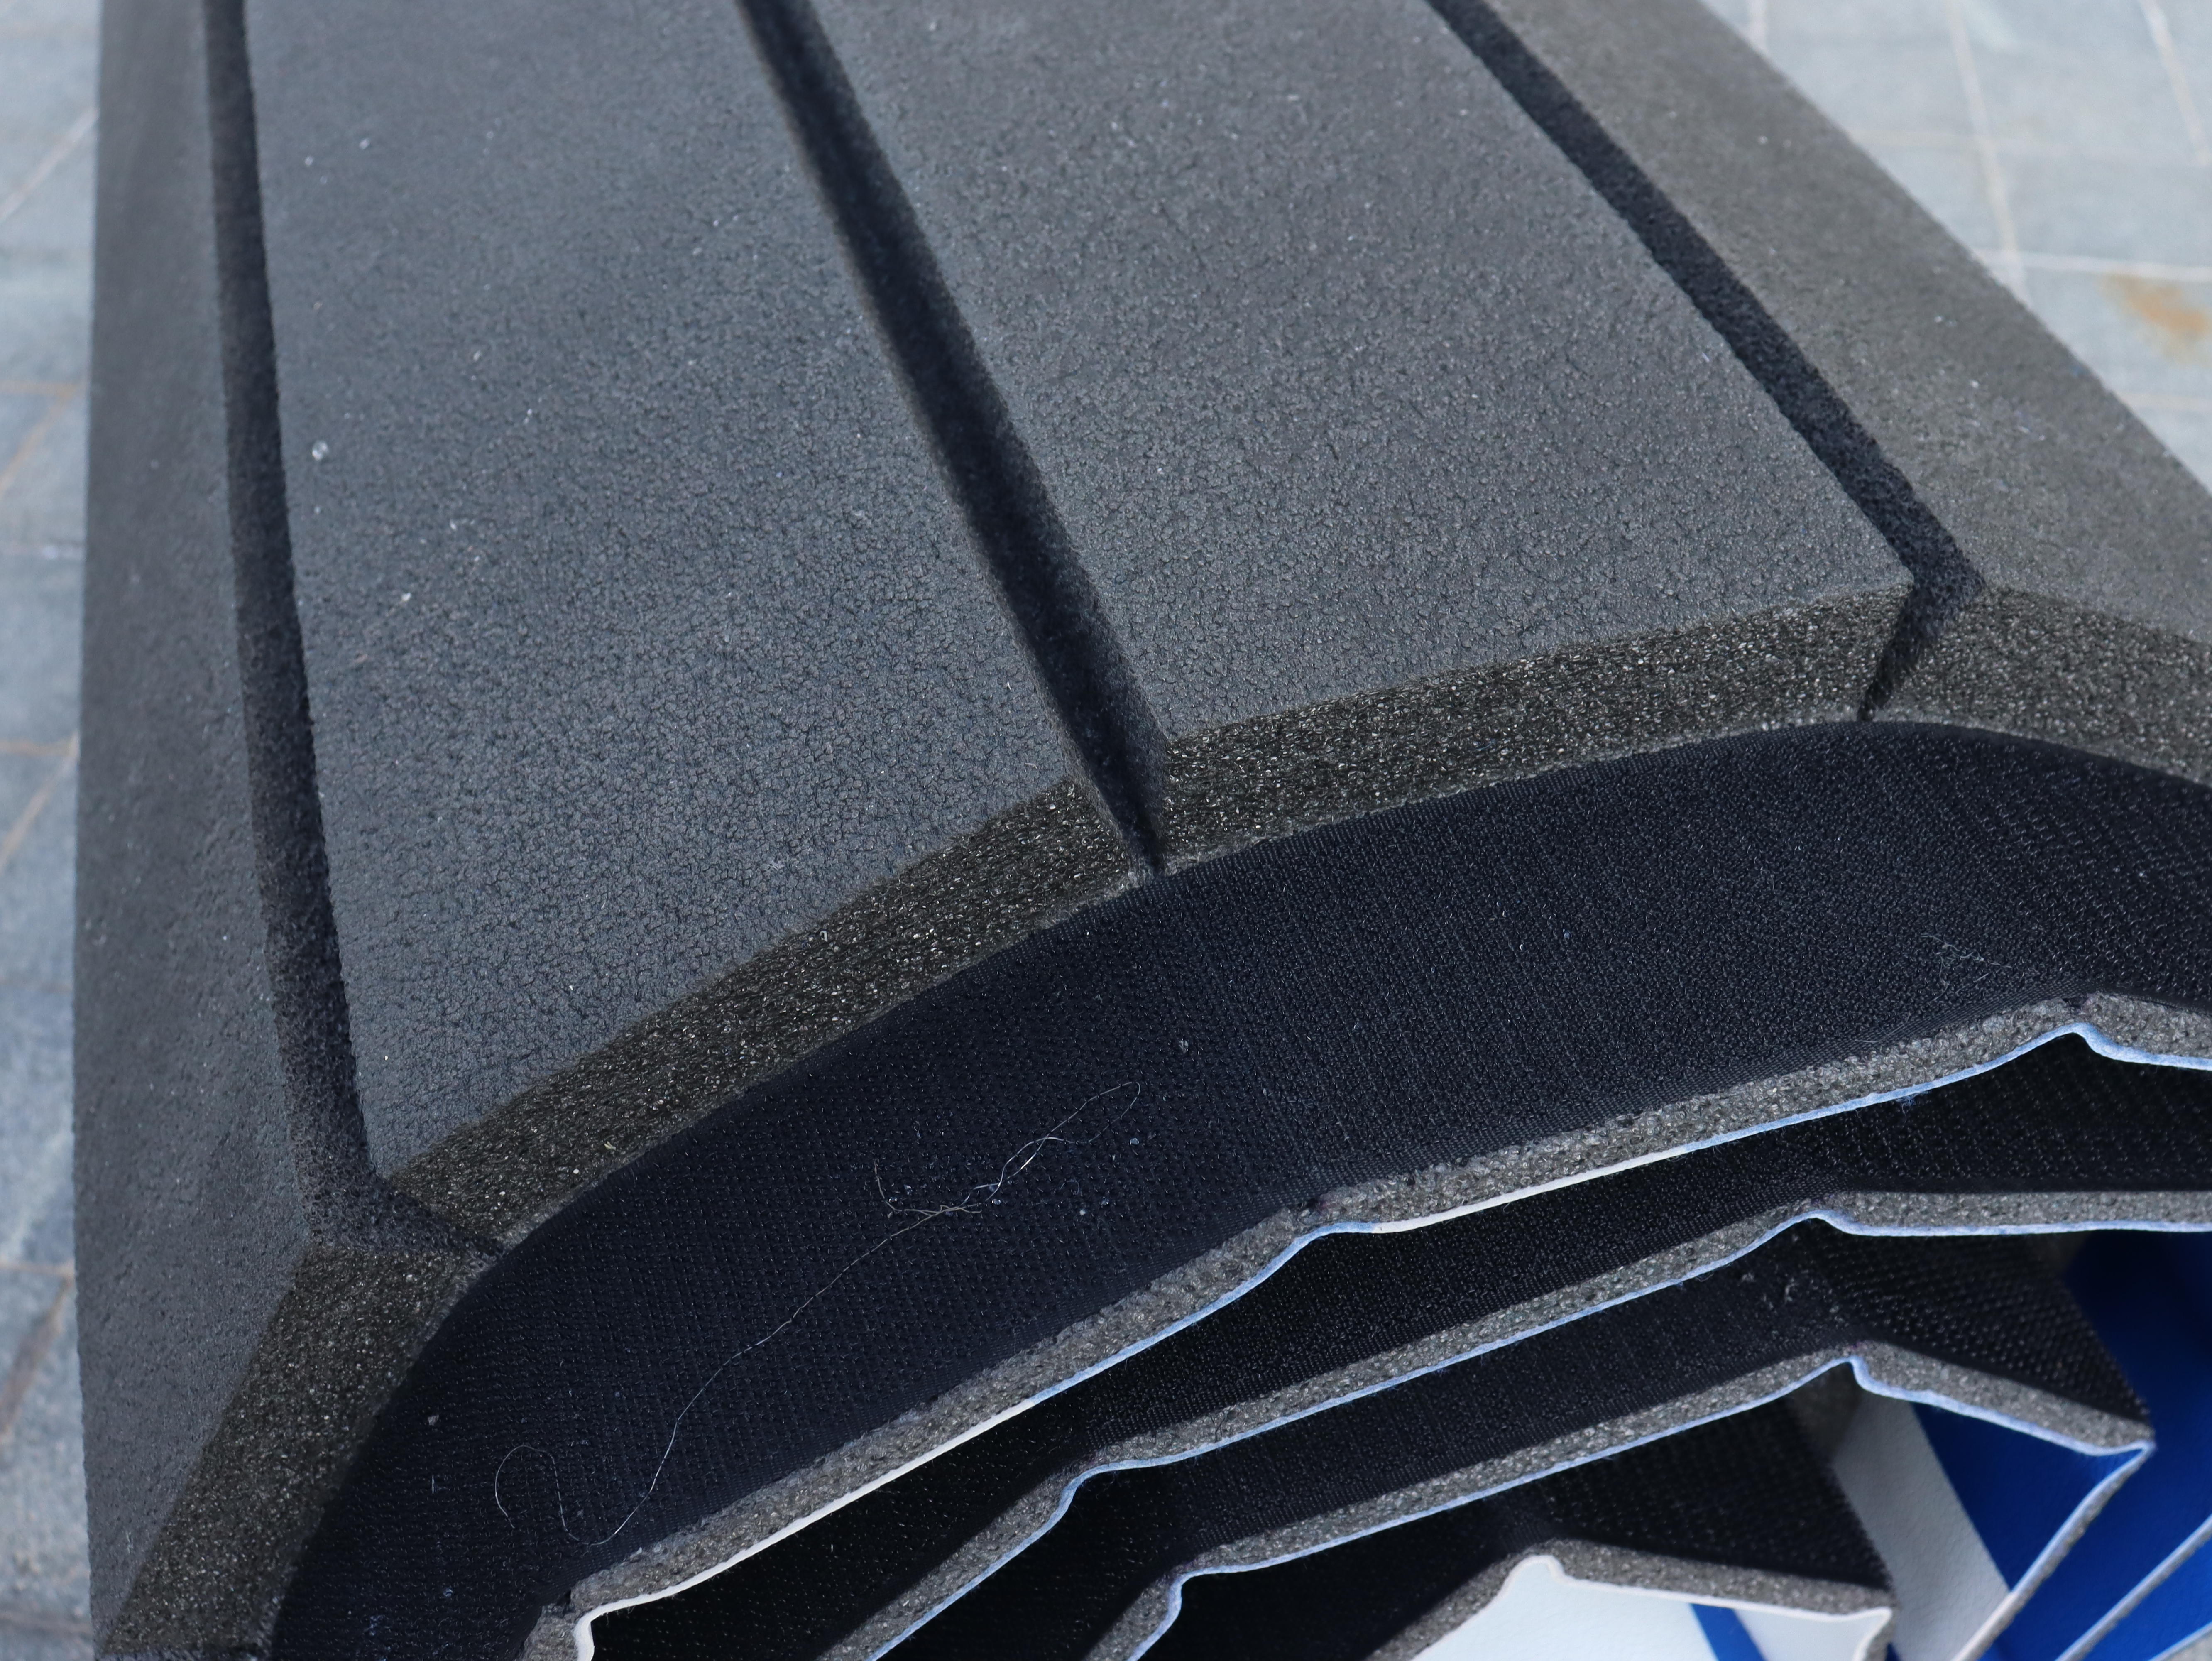
Unlike wall padding, which has wooden backing and can be adjusted with nails, roll out mats are mainly foam on the back. Once glued, removing or moving them can easily damage the material.
So before applying adhesive, it is very important to position and test place the mats on the wall. By confirming alignment and edges in advance, you can greatly reduce rework.
If you skip this step and glue them directly, correcting mistakes later usually means extra material loss and more time.
Installing wall roll out mats is not complicated, but it requires more attention to detail. Only by planning corners, fixing methods, and positioning before installation can you achieve a tight, smooth, and durable result and make the training area truly safe.
Contact us to get your customized solution.


